Creating a custom WordPress theme is one of the best ways to showcase your creativity, enhance brand identity, and deliver unique user experiences. Whether you’re a developer building client websites or a business owner looking to stand out, a custom theme ensures your site looks and performs exactly how you want.
In this blog, we’ll walk you through 10 easy steps to build your own WordPress theme from scratch — even if you’re just getting started.
Step 1: Set Up Your Development Environment
Start by installing a local development environment such as XAMPP, WAMP, or Local by Flywheel. These tools allow you to run WordPress on your computer for development and testing. Once installed, download the latest version of WordPress and set up a new site.
Step 2: Create a Theme Folder
Navigate to the ‘/wp-content/themes/’ directory in your WordPress installation. Create a new folder for your theme, e.g., ‘mycustomtheme’. This will hold all the files that make up your WordPress theme.
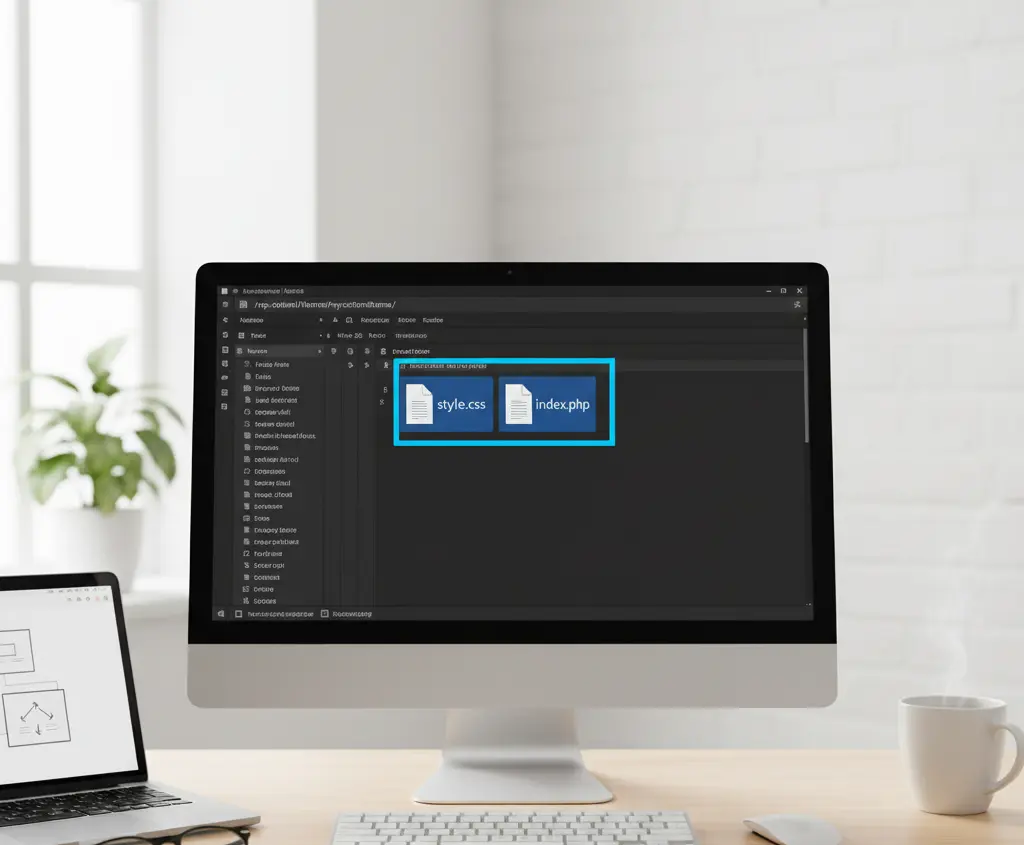
Step 3: Add Basic Theme Files
At a minimum, a WordPress theme needs two files: ‘style.css’ and ‘index.php’. The ‘style.css’ file contains your theme’s information and styling, while ‘index.php’ serves as the main template file.
Step 4: Configure the style.css File
Open ‘style.css’ and add your theme’s header comment at the top. Example:/*
Theme Name: My Custom Theme
Author: Your Name
Description: A custom WordPress theme built from scratch.
Version: 1.0
*/
Step 5: Create functions.php
The ‘functions.php’ file allows you to add custom functions and features to your theme. For example, you can enqueue styles and scripts:function mytheme_enqueue_styles() {
wp_enqueue_style('style', get_stylesheet_uri());
}
add_action('wp_enqueue_scripts', 'mytheme_enqueue_styles');
Step 6: Build the Header and Footer
Create two new files: ‘header.php’ and ‘footer.php’. These files contain your website’s header and footer content respectively. Use WordPress template tags like wp_head() and wp_footer() to ensure compatibility with plugins.
Step 7: Add Template Files
Next, create additional templates such as ‘page.php’, ‘single.php’, and ‘archive.php’ to control the layout of pages, posts, and archives. Use The Loop to dynamically display content from your WordPress database.
Step 8: Include Sidebar and Widgets
Add a ‘sidebar.php’ file and register widget areas in functions.php. Example:function mytheme_widgets_init() {
register_sidebar(array(
'name' => 'Main Sidebar',
'id' => 'sidebar-1',
'before_widget' => '<div class="widget">',
'after_widget' => '</div>',
));
}
add_action('widgets_init', 'mytheme_widgets_init');
Step 9: Test and Debug Your Theme
Activate your theme in the WordPress dashboard under Appearance → Themes. Test every page type to ensure proper formatting and functionality. Use tools like Query Monitor and Debug Bar to identify and fix issues.
Step 10: Optimize and Launch
Before launching, optimize your code for performance. Minify CSS/JS, compress images, and validate your HTML and CSS. Once everything looks great, upload your theme to your live site or marketplace!
Final Thoughts
Building a custom WordPress theme from scratch not only enhances your skills but also gives you full control over your website’s look and functionality. By following these 10 easy steps, you’ll be ready to craft themes that reflect your brand and impress your clients.
👉 Need a professional custom WordPress theme for your business? Contact our expert team at **Eron Techno Solutions Pvt Ltd** to turn your idea into a high-performing website today!